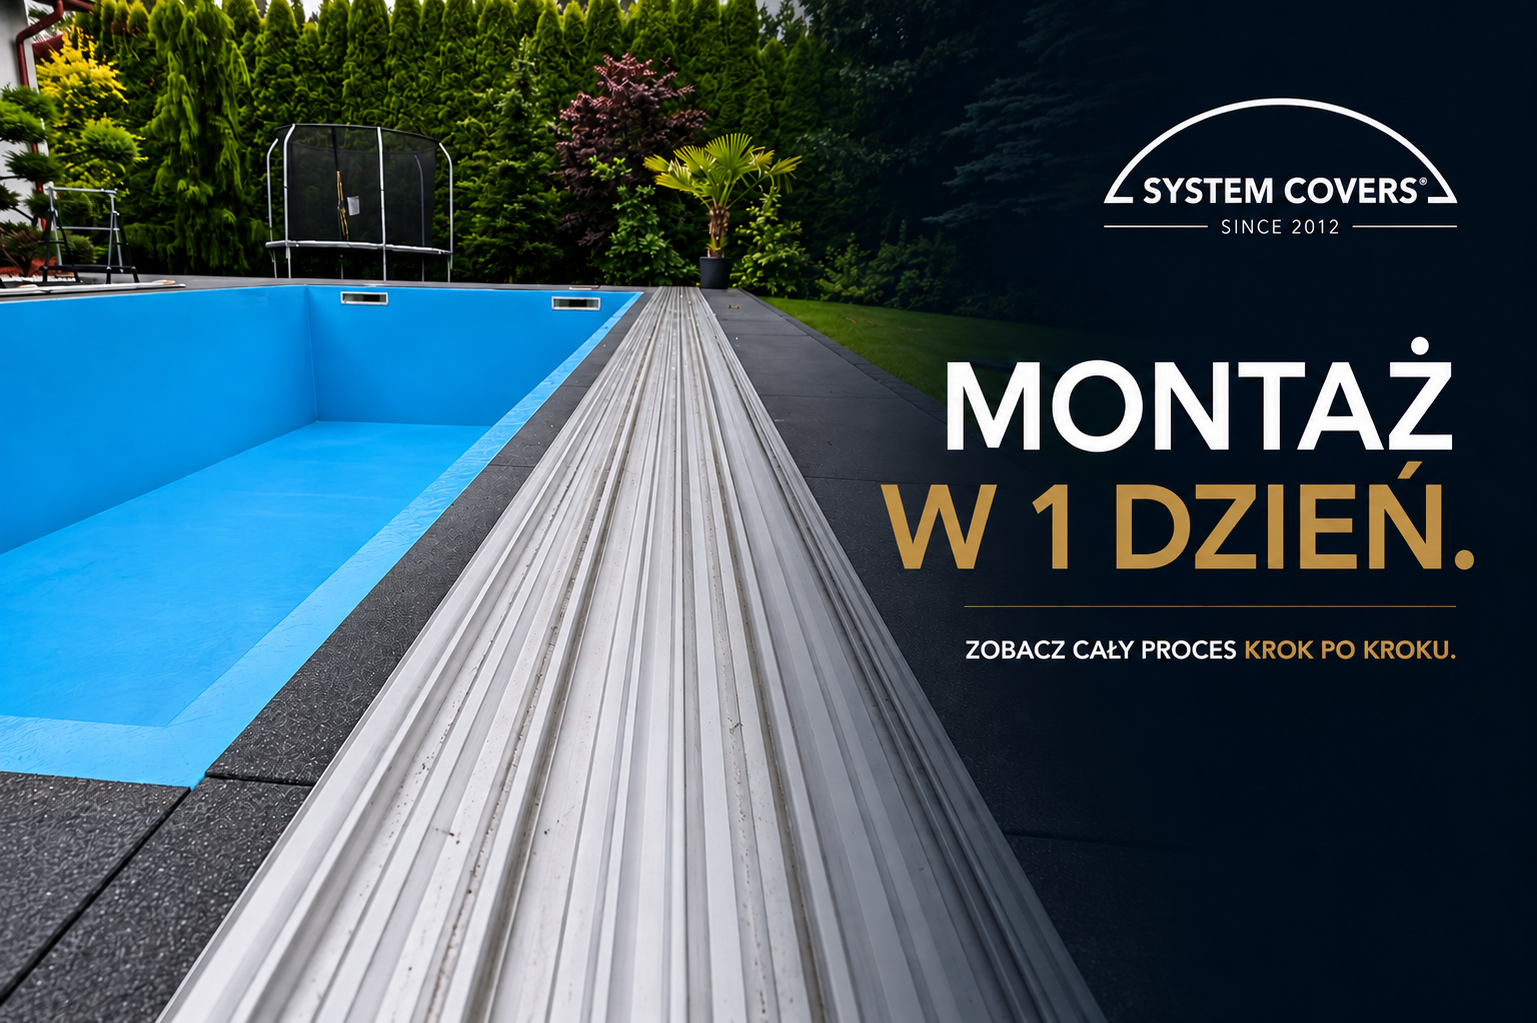
The installation of the pool enclosure from System Covers is designed for self-installation by the customer — without the need for authorized service, specialized tools, or a installation team. A typical installation of a low or medium enclosure takes about 6 hours with two people, while a walk-in takes a bit longer. The entire process can be reduced to six steps, but the key to a hassle-free installation lies in preparation — including what you need to know before ordering.
What you need to know before ordering the enclosure
Most installation problems do not arise from the installation itself, but from preparation errors. Four things to consider before placing an order (if you are building a pool in the same season, also check the article on the benefits of installing the enclosure together with the pool):
Dimensions of the pool and buffer zone
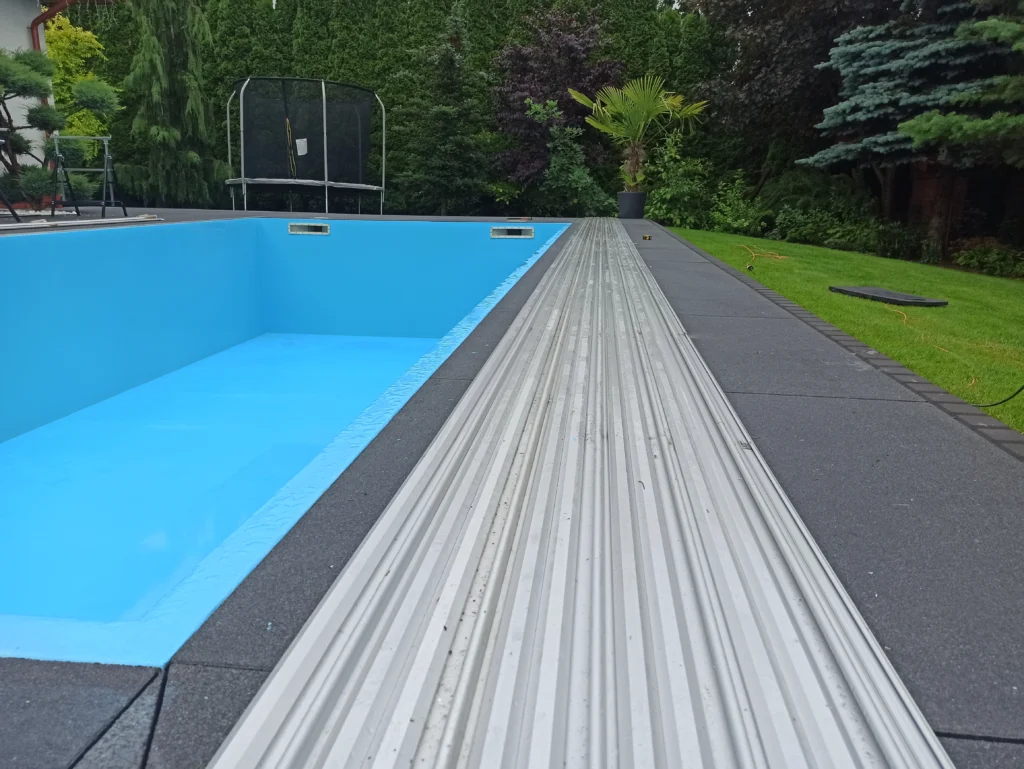
The enclosure rails do not run along the edge of the pool — they are usually shifted 10–15 cm from the basin. The terrace or paved surface should account for this space on both sides of the pool.
Condition of the ground under the rails
Rails are mounted to a flat, stable surface — most often a concrete terrace, paving stones, or a special linear foundation. Lawn or gravel without hardening will not work.
RAL color of the profiles
You choose the color when ordering — any RAL palette is included in the price. Think about integration with the house facade, fencing, and terrace color scheme.
Number of segments
2 segments for the smallest configurations (approx. 15,000 PLN), 3 segments for standard 6 m pools (approx. 30,000 PLN), 4 segments for larger ones. Each additional segment means a longer installation.
What you receive upon delivery — components and tools
The pool enclosure is delivered to you by our own transport, complete with an installation manual tailored to the specific model and configuration. What is included in the delivery:

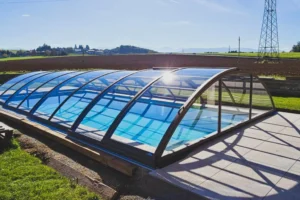
- Aluminum profiles 6060 — side, top, and cross, laser-welded, powder-coated in the selected RAL color
- 3 mm solid polycarbonate panels (or 4 mm as an option) — cut precisely for each segment, with a double-sided UV filter
- Guide rails — a complete set for the left and right side of the pool
- Wheels — screwed to the segments, allowing for smooth movement
- Handles and locks — mechanism for opening segments and securing them
- Seals and rubber strips — between segments, reduce airflow
- Complete set of screws and anchors — for securing the rails to the ground
- Installation manual — step by step, with drawings and a list of tasks
Tools you need to prepare yourself (most are found in any home workshop):
- Impact drill with concrete drill bits (for securing the rails)
- Wrench for nuts (usually 13 and 17 mm)
- Cordless screwdriver
- Long level (min. 80 cm)
- Tape measure (min. 5 m)
- Masonry string for marking lines
- Chalk or marker for markings
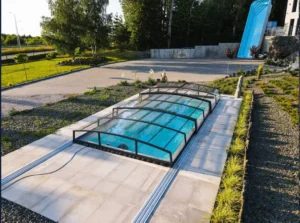
Step-by-step installation — 6 stages
The diagram below describes a typical installation for a 3-segment enclosure (the most popular configuration). For 2 or 4 segments, the number of steps remains the same, only the working time at the segment assembly stage changes.
- Marking the rail lines (15–30 minutes). Carefully measure the outline of the pool. Mark two parallel lines 10–15 cm from the edge of the pool basin, on both sides. A masonry string stretched between four points allows you to check if the lines are parallel and perpendicular to the pool axis. A curved rail line at this stage indicates resistance to movement after installation — it’s worth taking the time.
- Installing the rails to the ground (1 hour). Secure the rails with steel anchors to the concrete terrace or paving stones. Impact drill, appropriately sized drill bit (as specified in the instructions), anchors, tightening with a wrench. Check the level of each rail during installation — any height difference between the right and left rail will be visible in the operation of the segments later.
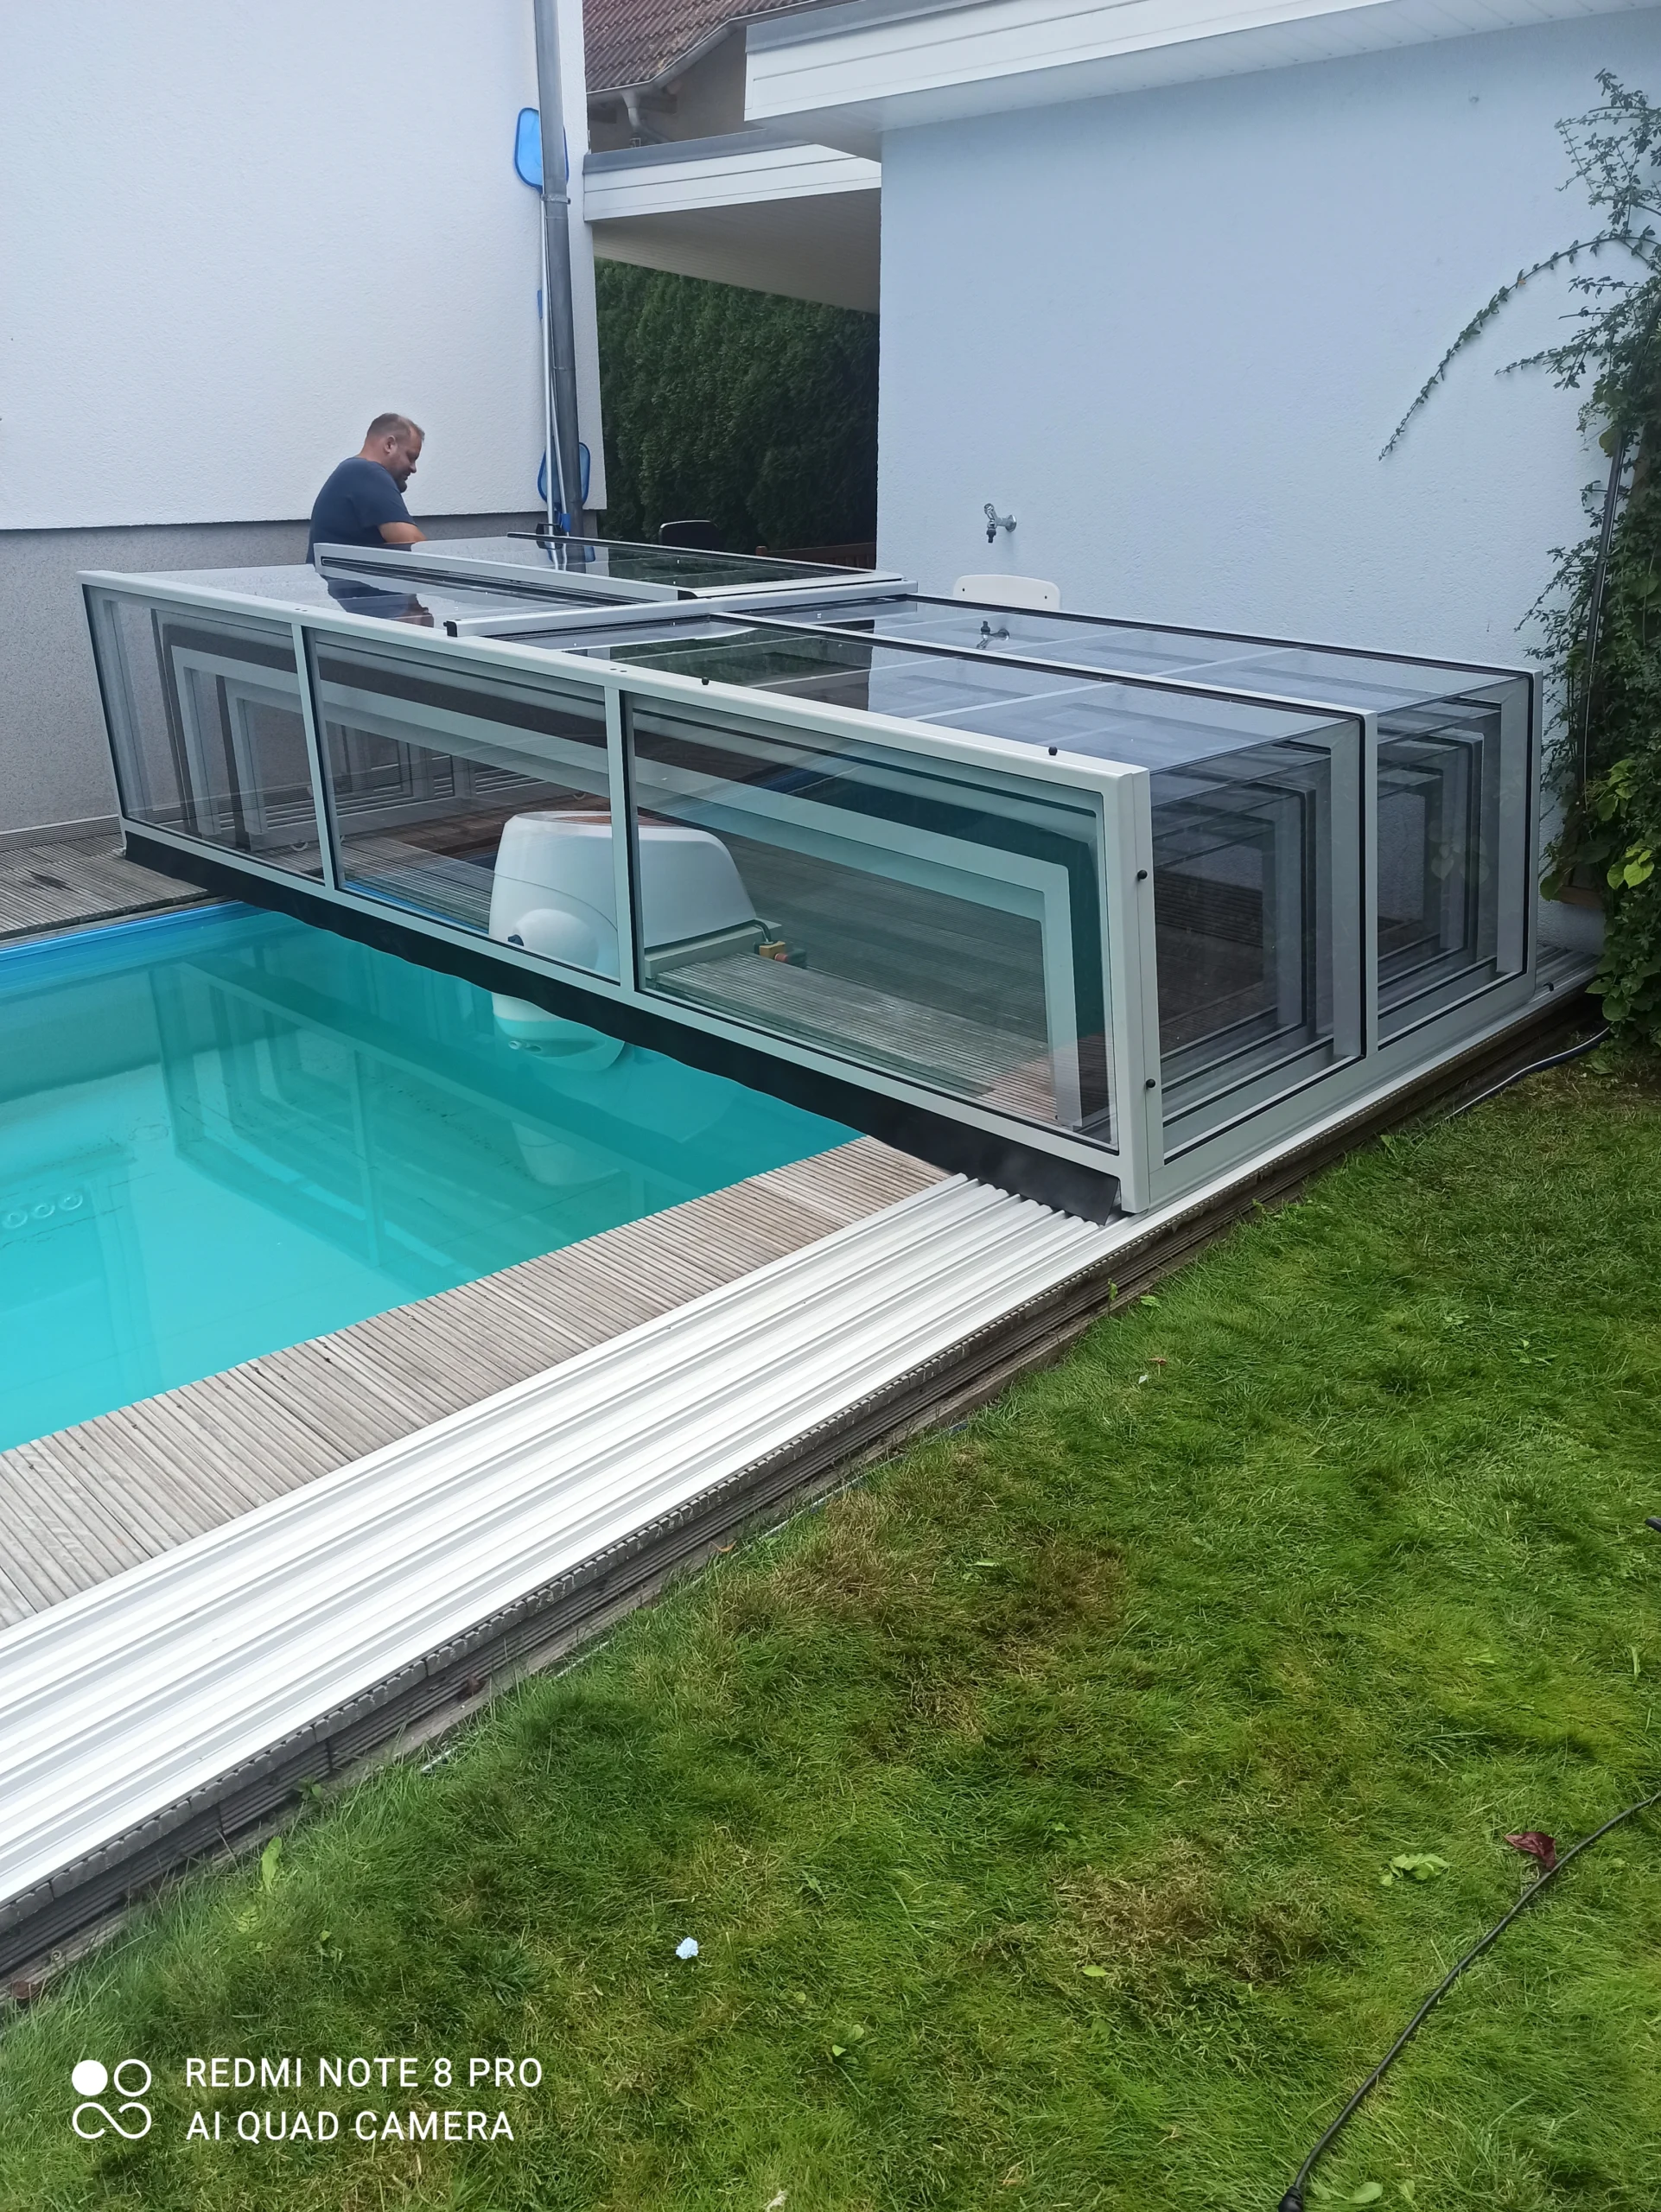
- Assembling segments (2–3 hours). Each segment consists of four profiles (two side and two top) plus polycarbonate panels. The order: arch profile → lower profile with wheels → cross profiles → polycarbonate panels in the profile guides. Tightening with nuts using a screwdriver, manual tightening with a wrench.
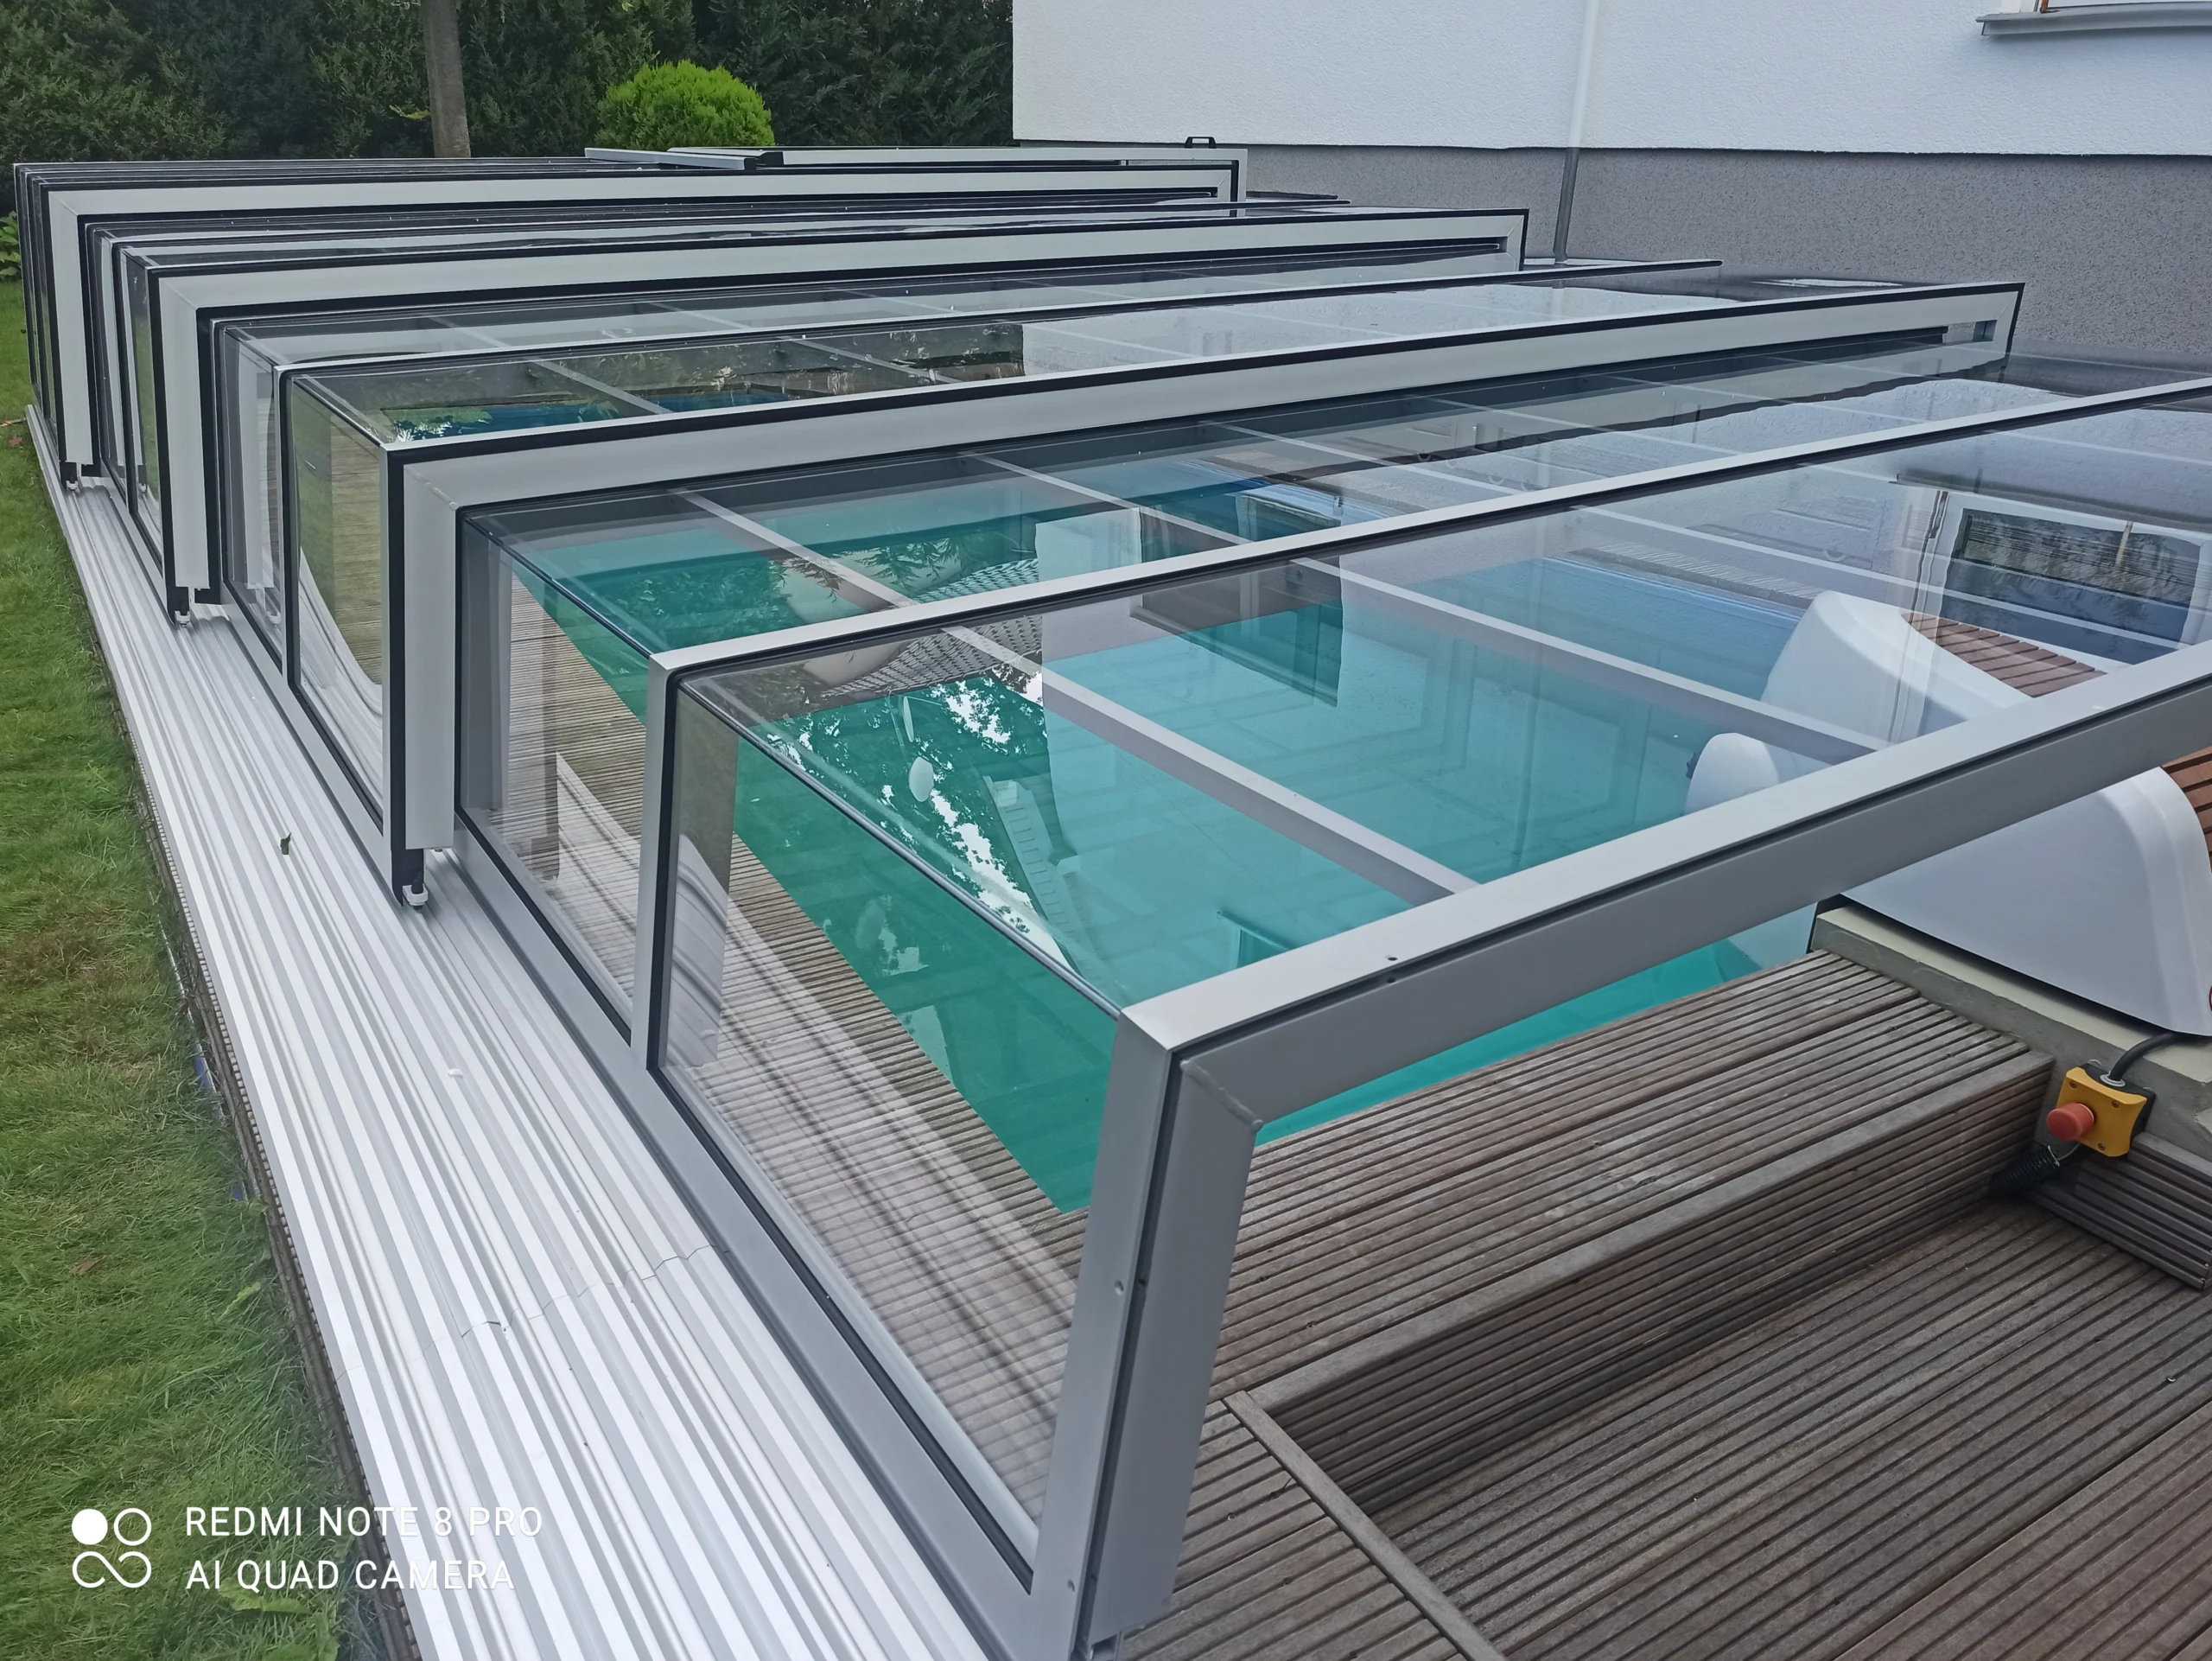
- Installing segments on the rails (30 minutes). Two people lift each segment and place it on the rails. The wheels jump into the guides, and the segment moves smoothly. Start with the largest segment (the outer one), and push the next ones under it.
- Checking movement and adjustment (30 minutes). Slide all segments back and forth — from closed to fully open. If any segment moves stiffly, check the leveling of the rails in that section. Adjusting the wheels (tightening/loosening the nut) allows for minor corrections.
- Installing handles, locks, and seals (30 minutes). Handles are screwed onto the side profiles of selected segments. Movement-limiting locks — optional, but recommended if there are children in the house. Rubber seals between segments are pressed into the guides.
Most common installation mistakes and how to avoid them
After years of executing and observing customer installations, several mistakes occur regularly. Each of them can be avoided if you know them before starting.
| Mistake | Consequence | How to avoid |
|---|---|---|
| Inaccurate measurement of the rail lines | Segments go crooked, handles do not close, resistance when moving | Mason’s string, two measuring tapes, diagonal measurements to check for squareness |
| Skipping the leveling of the rails | Segment halts on a sloped section, shorter lifespan of wheels | Level every 1 m along each rail, correct with spacers under the rail |
| Over-tightening of the running wheels | Wheel does not rotate smoothly, resistance to movement | Tighten so that the wheel rotates with a finger effortlessly, but without axial play |
| Lack of seal between segments | Draft, reduced effectiveness of the greenhouse effect | Press the rubber seal into all guides at the segment junctions |
| Installing alone | Risk of damaging polycarbonate panels when lifting the segment, injury | Arrange for a second person on the installation day — a minimum of 4 hours of work in pairs |
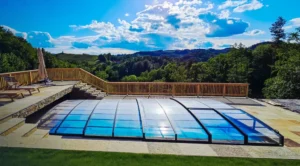
Installation time depending on the model
Models vary in height and number of panels, which affects the working time. Below are estimated installation times with a two-person team for a standard configuration (3 segments for a 6 m pool):
| Model | Height | Installation time | Difficulty |
|---|---|---|---|
| Santorini | 40–60 cm | 5–6 hours | Easy Low segments, lightweight panels |
| Bali | low / transitional | 5–6 hours | Easy Similar to Santorini, additionally with an air chamber |
| Maledives | medium, arched | 6–7 hours | Medium Larger segments, arched structure requires more precise adjustment |
| Rodos | medium, arched | 6–7 hours | Medium Identical time as Maledives |
| Dominicana | 60/80 cm, arched | 6 hours | Easy Bestseller, most frequently documented configuration |
| Tenerife | walk-in | 10–12 hours | Medium Higher segments, two people + possibly support |
The times include all 6 steps of installation — from marking the rail lines to motion testing and securing. For 2-segment configurations, subtract about 1 hour; for 4-segment configurations, add 1–2 hours.
Frequently Asked Questions (FAQ)
No. The entire System Covers system is designed for self-installation by the customer and one helper. Most of our customers install the enclosure over the weekend. If you prefer to delegate the work, we recommend a local carpenter, plumber, or someone with experience in metal constructions — no authorized service is needed.
Then the enclosure rails must run along the edge of the terrace or beyond it. The simplest solution is an additional hardening strip (paving stones, concrete) 15–20 cm wide along the rail line. You can also order the enclosure with a different rail variant (e.g., raised rail, wall-mounted rail), but this requires individual consultation when ordering.
No. The sliding structure is not considered a building object under building law — it does not require a permit or notification to the county office. You can order and install the enclosure without administrative formalities, regardless of its height (low, medium, walk-in).
Stop the installation and contact us by phone. Phone assistance is part of the service — the installation instructor will guide you through the problematic step. Most difficulties can be resolved in one call, without the need for an on-site visit.
Yes, but it requires a hardened strip under the rails. If you only have a lawn around the pool, you need to create a linear concrete foundation strip or lay paving stones in a 20–30 cm wide strip on both sides of the pool. This is often simpler than it seems — the foundation strip can be laid in one weekend.
Yes. The entire assembly is mechanical — screws, anchors, rollers. Disassembly proceeds in the reverse order of assembly and takes a similar amount of time. After disassembly, the enclosure can be reassembled in a new location, provided that the new pool has comparable dimensions or the configuration is adjusted.
Off-season (October–February) fulfillment takes 1–4 weeks. During peak season (April–July), it takes 4–8 weeks. If you plan to install on a specific weekend, order well in advance — preferably in winter for the fastest fulfillment.
Are you planning to install the enclosure this season?
The quote takes up to 24 hours, is free, and includes model selection based on your pool type, RAL color, and delivery to your home — with no hidden costs. We will also advise on substrate preparation and installation logistics.